Bake Irresistible Peppermint Bark Cookies This Holiday Season
As the crisp air of the holiday season descends and twinkling lights begin to adorn homes, there's a unique magic that permeates the kitchen. The aroma of spices, vanilla, and chocolate becomes an invitation to create festive treats that warm the soul and spread cheer. Among the myriad of holiday confections, few capture the essence of winter wonder quite like peppermint bark cookies. These delightful bites marry a rich, chewy chocolate cookie base with a vibrant, crunchy peppermint topping, creating a symphony of flavors and textures that is truly irresistible.
But why keep all that joy to yourself? This year, transform your baking session into a memorable celebration by hosting a holiday baking party centered around these spectacular peppermint bark cookies! Imagine friends and family gathered, laughter echoing, and a production line of deliciousness taking shape. It’s an experience that goes beyond just making cookies; it’s about crafting cherished memories, one delicious bite at a time. Get ready to dive into the world of festive baking and discover how to make these show-stopping treats a highlight of your holiday season.
Why Peppermint Bark Cookies Are Your Holiday Must-Bake
These cookies aren't just another item on your holiday baking list; they’re a celebration in themselves. Their popularity stems from a perfect blend of festive spirit and culinary simplicity, making them ideal for both intimate family moments and grand holiday gatherings.
*
A True Festive Delight: The combination of deep chocolate and refreshing peppermint is the quintessential taste of the holidays. It evokes nostalgic memories and instantly elevates the seasonal mood, making them a centerpiece treat that truly embodies holiday cheer.
*
Surprisingly Easy to Make: Despite their sophisticated appearance,
Spark Holiday Cheer with Simple Peppermint Bark Cookies are remarkably straightforward to whip up. With common pantry ingredients and simple steps, even novice bakers can achieve impressive results. This ease also makes them perfect for a group baking activity – more hands make lighter work and more fun!
*
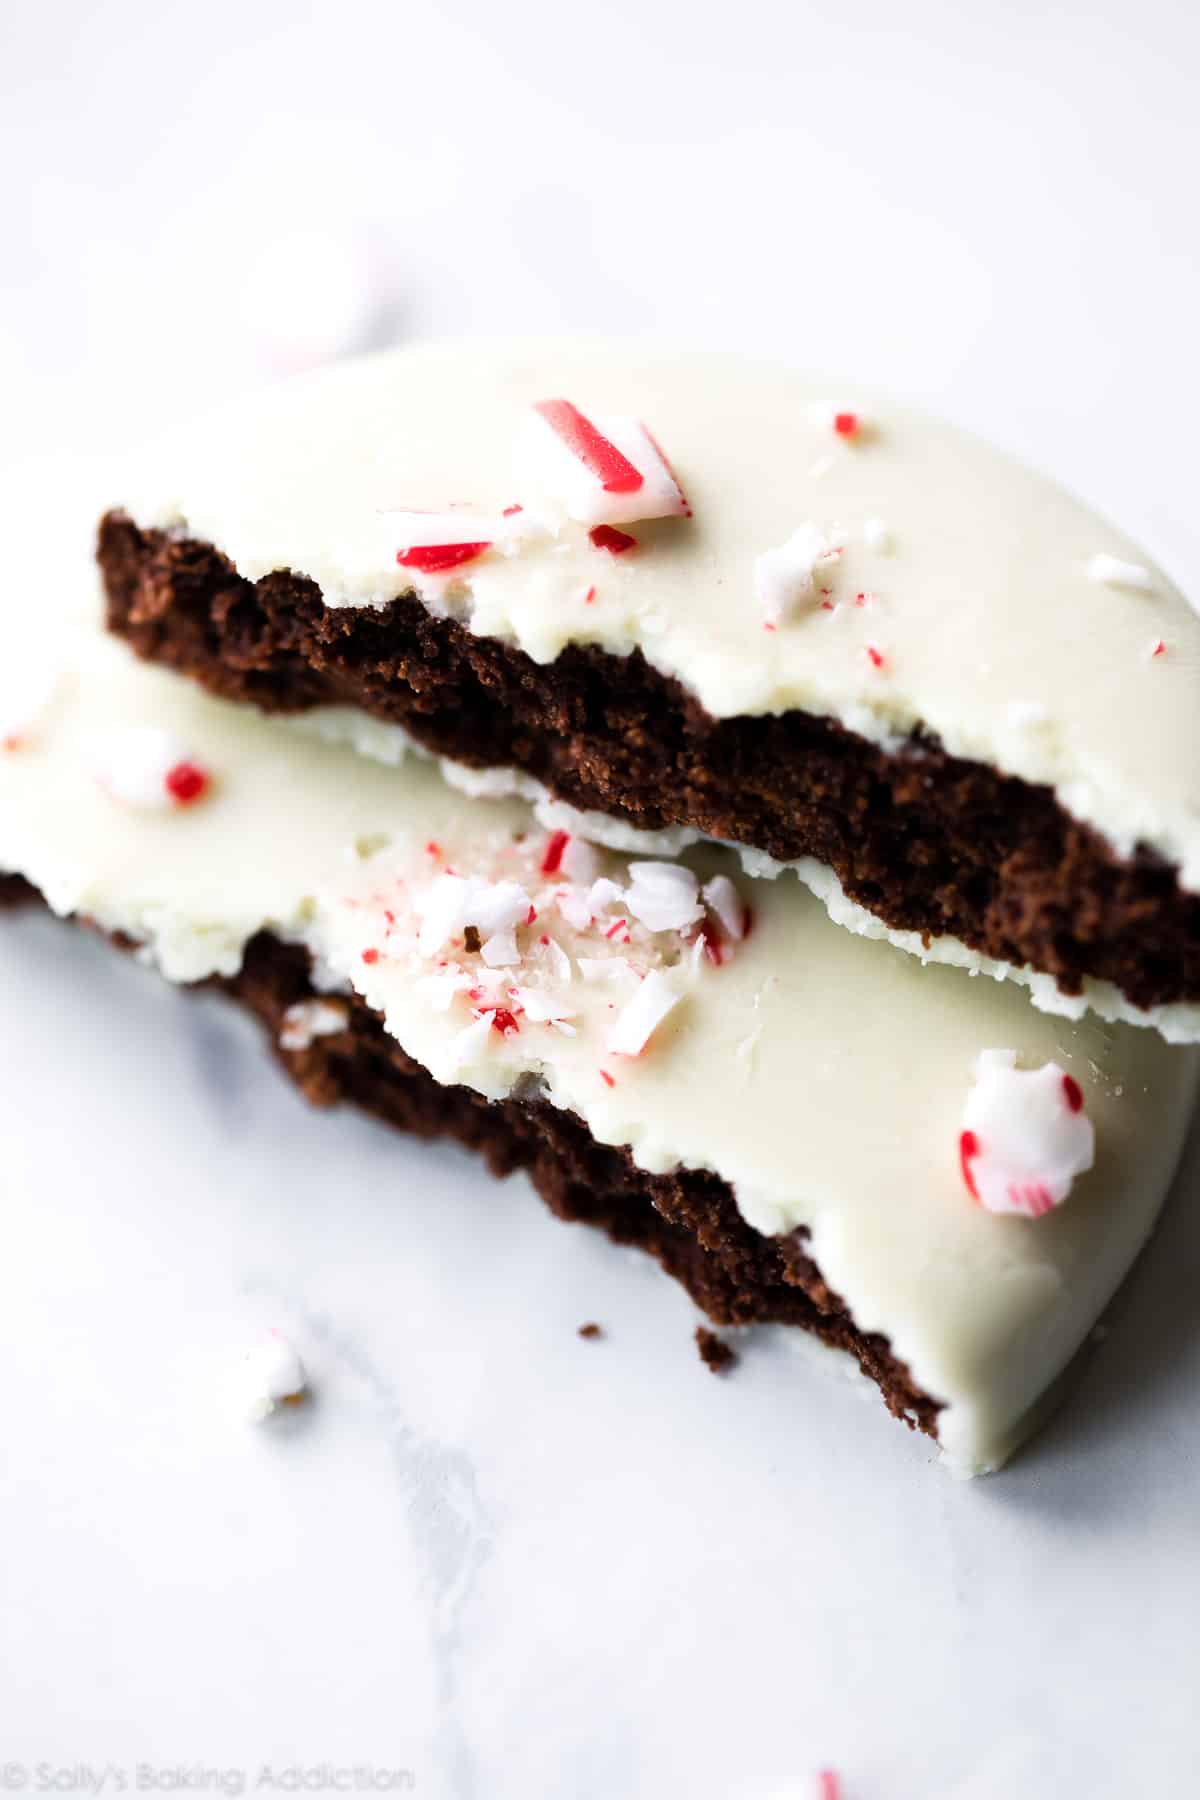
Stunning Visual Appeal: Drizzled with contrasting white chocolate and generously sprinkled with vibrant crushed peppermint, these cookies are a feast for the eyes. They add a touch of elegance and whimsy to any dessert platter, instantly becoming a conversation starter and a visual highlight.
*
Perfect for Gifting: Beautifully wrapped in decorative packaging, these homemade cookies make heartfelt gifts for friends, neighbors, teachers, and loved ones. A batch of homemade peppermint bark cookies communicates warmth and effort, making them far more special than any store-bought present. For more ideas on presenting these treats, explore our tips on
Easy Peppermint Bark Cookies: Perfect for Festive Gifting.
*
A Guaranteed Crowd Favorite: Rich, chewy, chocolatey, and delightfully minty – these cookies hit all the right notes. They are universally loved and disappear quickly from any gathering, sparking joy and delight in every bite. They are truly a must-bake for anyone looking to impress this season.
Crafting Culinary Magic: The Peppermint Bark Cookie Recipe
Creating these irresistible peppermint bark cookies begins with understanding the role each ingredient plays and following the steps with a touch of holiday love.
Essential Ingredients for Your Peppermint Bark Cookies
For the Cookie Base:
*
Unsalted Butter (½ cup, room temperature): Provides a rich flavor and contributes to the cookie’s tender, soft texture. Ensure it's at room temperature for optimal creaming with sugar, leading to a lighter, airier dough.
*
Granulated Sugar (1 cup): Sweetens the cookies and helps achieve that slightly crisp edge and chewy center. You can experiment with a partial substitute of light brown sugar for a deeper, molasses-like flavor.
*
Large Egg (1): Acts as a binder, adding moisture and structure. For a vegan alternative, a flax egg (1 tbsp ground flaxseed mixed with 3 tbsp water, rested for 5 minutes) can be used.
*
Vanilla Extract (1 teaspoon): Crucial for enhancing the overall flavor profile. Always opt for pure vanilla extract for the best, most aromatic results.
*
All-Purpose Flour (1 ¾ cups): The structural backbone of the cookie. For a gluten-free option, a 1:1 gluten-free baking blend can be substituted.
*
Unsweetened Cocoa Powder (½ cup): Delivers that deep, rich chocolate flavor. Use a good quality unsweetened cocoa powder; Dutch-processed cocoa will give a darker color and milder flavor, while natural cocoa will be lighter and slightly more acidic.
*
Baking Powder (1 teaspoon): Provides the necessary lift, ensuring a soft, slightly puffy cookie. Always check the expiration date to ensure freshness and potency.
*
Salt (¼ teaspoon): A small but mighty ingredient that balances the sweetness and enhances all the other flavors. A pinch of flaky sea salt can add a sophisticated touch.
For the Coating:
*
Dark Chocolate (8 oz, chopped or chips): The primary coating for a decadent base. Choose a high-quality dark chocolate (around 60-70% cocoa) for the best flavor and melting consistency. Semi-sweet chocolate chips also work well.
*
White Chocolate (4 oz, chopped or chips): Used for drizzling, it provides a beautiful visual contrast and a creamy sweetness that complements the dark chocolate and peppermint.
For Topping:
*
Crushed Peppermint Candies (½ cup): The star of the show! Candy canes are perfect; simply place them in a sturdy Ziploc bag and crush them with a rolling pin or the bottom of a heavy pan. Starlight mints also work if you prefer a milder mint flavor.
Step-by-Step Instructions
1.
Prepare the Dough: In a large mixing bowl, cream together the softened unsalted butter and granulated sugar until the mixture is light, fluffy, and pale in color, usually 2-3 minutes with an electric mixer. Scrape down the sides of the bowl.
2.
Add Wet Ingredients: Beat in the large egg and vanilla extract until well combined and smooth. Don't overmix, just ensure everything is incorporated.
3.
Combine Dry Ingredients: In a separate medium bowl, whisk together the all-purpose flour, unsweetened cocoa powder, baking powder, and salt.
4.
Form the Dough: Gradually add the dry ingredients to the wet ingredients, mixing on low speed until just combined. Be careful not to overmix, as this can lead to tough cookies. The dough will be soft and slightly sticky.
5.
Chill the Dough (Crucial Step!): Cover the dough and refrigerate for at least 30 minutes, or up to 2 hours. Chilling helps the dough firm up, making it easier to handle and preventing the cookies from spreading too much during baking.
6.
Preheat & Prepare: Preheat your oven to 350°F (175°C) and line baking sheets with parchment paper or silicone mats.
7.
Bake the Cookies: Roll the chilled dough into 1-inch balls and place them about 2 inches apart on the prepared baking sheets. Bake for 8-10 minutes, or until the edges are set and the centers still look slightly soft. They will firm up as they cool.
8.
Cool Completely: Let the cookies cool on the baking sheets for a few minutes before transferring them to a wire rack to cool completely. This prevents breakage and ensures the chocolate coating will set properly.
9.
Melt Dark Chocolate: Once cookies are fully cooled, melt the dark chocolate. You can do this in a double boiler or carefully in the microwave in 30-second intervals, stirring well after each, until smooth and fully melted.
10.
Coat Cookies: Dip each cooled cookie halfway into the melted dark chocolate, letting any excess drip off. Place the coated cookies back on the parchment-lined baking sheet.
11.
Melt White Chocolate & Drizzle: Melt the white chocolate using the same method. Transfer the melted white chocolate to a piping bag with a small tip, or simply use a spoon to drizzle it decoratively over the dark chocolate-coated cookies.
12.
Add Peppermint Topping: Immediately sprinkle the crushed peppermint candies over the wet chocolate. Work quickly before the chocolate sets.
13.
Set & Enjoy: Allow the chocolate to set completely at room temperature or in the refrigerator for about 15-20 minutes. Once set, your irresistible peppermint bark cookies are ready to be enjoyed!
Host the Ultimate Holiday Peppermint Bark Cookie Party
Turning your kitchen into a festive cookie workshop is a fantastic way to celebrate the season. Here’s how to host a holiday baking party that’s fun, efficient, and filled with delicious peppermint bark cookies!
1.
Plan Ahead:
*
Guest List & Invitations: Invite 3-5 close friends or family members. Mention it's a "peppermint bark cookie party" so everyone knows the theme.
*
Assign Roles (Optional): If you have enthusiastic bakers, you might assign roles beforehand – one person for dough prep, one for baking, one for decorating. Or, simply let everyone rotate tasks!
*
Shopping: Purchase all ingredients a few days in advance. Don't forget extra crushed peppermint – it's often the first to run out!
2.
Set Up Your Stations:
*
Dough Prep Station: Have all dry ingredients pre-measured and bowls, mixers, and spatulas ready. Softened butter and room-temperature eggs should be out.
*
Baking Station: Ensure you have multiple baking sheets, parchment paper, and cooling racks. Designate oven space if you have more than one.
*
Decorating Zone: This is where the magic happens! Set out the melted dark chocolate (keep it warm over a double boiler or in a warm spot), melted white chocolate in piping bags, and a generous bowl of crushed peppermint. Provide small offset spatulas or spoons for spreading.
3.
Party Atmosphere:
*
Music: Create a festive holiday playlist to get everyone in the spirit.
*
Refreshments: Keep warm drinks flowing! A hot cocoa bar with various toppings, mulled cider, or even a festive punch are great choices.
*
Decorations: Simple holiday decorations like strung lights, candles (safely away from workspaces), or a festive tablecloth can really enhance the ambiance.
4.
Making It Fun & Engaging:
*
Teamwork: Encourage collaboration! One person can roll dough, another can manage the oven, and everyone can gather around the decorating table for creative fun.
*
Decorating Competition: Add a friendly competitive element! Offer a small prize for the "most creative drizzle" or "most generous peppermint application."
*
Story Time: Share favorite holiday baking memories or traditions while you work.
5.
Take-Home Treats: Provide decorative cellophane bags, small cookie boxes, or tins so guests can package their share of the delicious peppermint bark cookies to take home. Don't forget to print out the recipe for them too!
Beyond the Batch: Gifting and Storing Your Peppermint Bark Cookies
Once your peppermint bark cookies are baked, decorated, and admired, it's time to think about how to best share and preserve them.
*
Gifting with Style:
*
Elegant Packaging: Place cookies in cellophane bags tied with festive ribbons, or arrange them neatly in decorative cookie tins or boxes.
*
Personal Touches: Add a handwritten tag with a personal message or a small sprig of fresh rosemary for a natural touch.
*
Cookie Samplers: Bundle these cookies with other homemade treats like shortbread or gingerbread for a diverse and appealing gift basket. For more detailed gifting tips, remember to check out our article on
Easy Peppermint Bark Cookies: Perfect for Festive Gifting.
*
Optimal Storage for Freshness:
*
Airtight Container: Store peppermint bark cookies in an airtight container at room temperature for up to 5-7 days.
*
Refrigerator: If your home is very warm, or for slightly extended freshness, refrigerate them. Just be aware that the chocolate can "bloom" (develop a whitish film) if exposed to extreme temperature changes, though it's still safe to eat.
*
Freezing: For longer storage, freeze cooled, undecorated chocolate cookies in an airtight container for up to 2-3 months. Thaw, then coat and decorate just before serving. Or, flash freeze decorated cookies on a tray, then transfer to a freezer-safe container, separating layers with parchment paper. Thaw at room temperature.
*
Serving Suggestions:
*
Holiday Platter: Arrange them beautifully on a festive cookie platter alongside other holiday favorites.
*
Coffee Companion: Serve with a warm cup of coffee, hot cocoa, or a mug of mulled wine for a comforting treat.
*
Dessert Bar: Incorporate them into a holiday dessert bar with other sweets for guests to choose from.
Conclusion
Baking peppermint bark cookies is more than just following a recipe; it's an embrace of holiday tradition, a creative outlet, and a wonderful way to connect with loved ones. Whether you're making a quiet batch for your family or orchestrating a lively holiday baking party, these cookies are guaranteed to infuse your home with festive aromas and your heart with holiday cheer. Their irresistible combination of rich chocolate and refreshing peppermint makes them a standout treat that will surely be requested year after year. So, gather your ingredients, invite your favorite people, and make this holiday season truly unforgettable with the joy of homemade peppermint bark cookies! Happy baking!